Create API access (service account)
Generate the service account and its JSON key that let Releasely upload your builds and manage your app on the Play Store.
For Releasely to publish on your behalf, you create a service account with a JSON key. It's the Android equivalent of an API key: it connects your Google Play account to Releasely, without sharing your password.
It happens in two places: first in Google Cloud Console (create the service account and its key), then in the Google Play Console (grant it access to your Play account).
By the end, you'll have
A JSON file — the only item to give Releasely.
Part 1 — Google Cloud Console
Two Google spaces, don't mix them up
Your app lives in the Play Console (listing, screenshots, published releases). The Google Cloud Console is a separate, purely technical Google space: throughout this step it's only used to host the "robot key" (the service account) and to enable the API that lets Releasely talk to the Play Store. The Cloud project you handle here is not your app.
Create or pick a project
A Google Cloud project is just a container that groups technical resources — here, the API to enable and the service account to create. It isn't your app (that one is created in the Play Console): its name is never shown to your users and doesn't need to match your app's.
On console.cloud.google.com, open the project picker at the top of the page:
- First time on Google Cloud? Click New project, give it a name (for example "Releasely" or your app's name) and confirm. One project is enough, even if you publish several apps.
- Already have a project (Firebase, Google Maps, another Google service…)? Reuse it as-is — no need to create a dedicated one.
This choice has no effect on your app: it only determines where the service account will live.
Enable the Google Play API
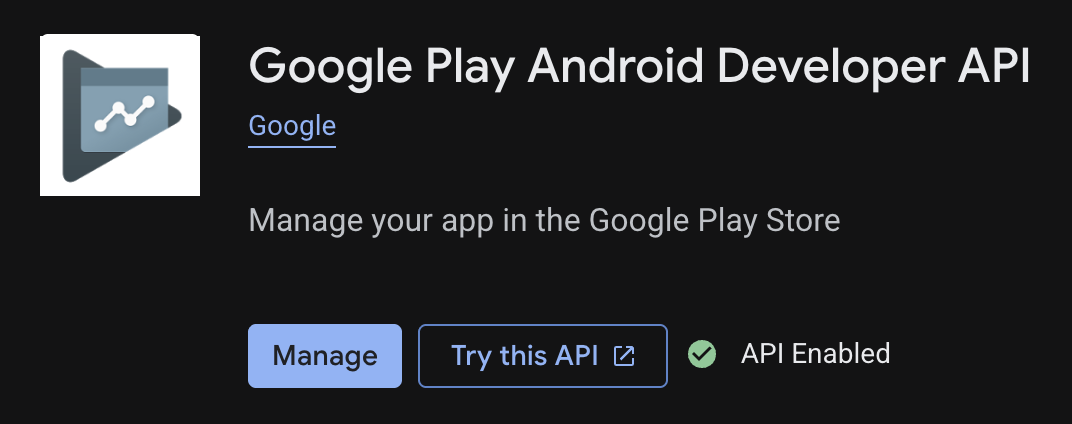
Open APIs & Services → Library, search for Google Play Android Developer API, then click Enable.
Create a service account
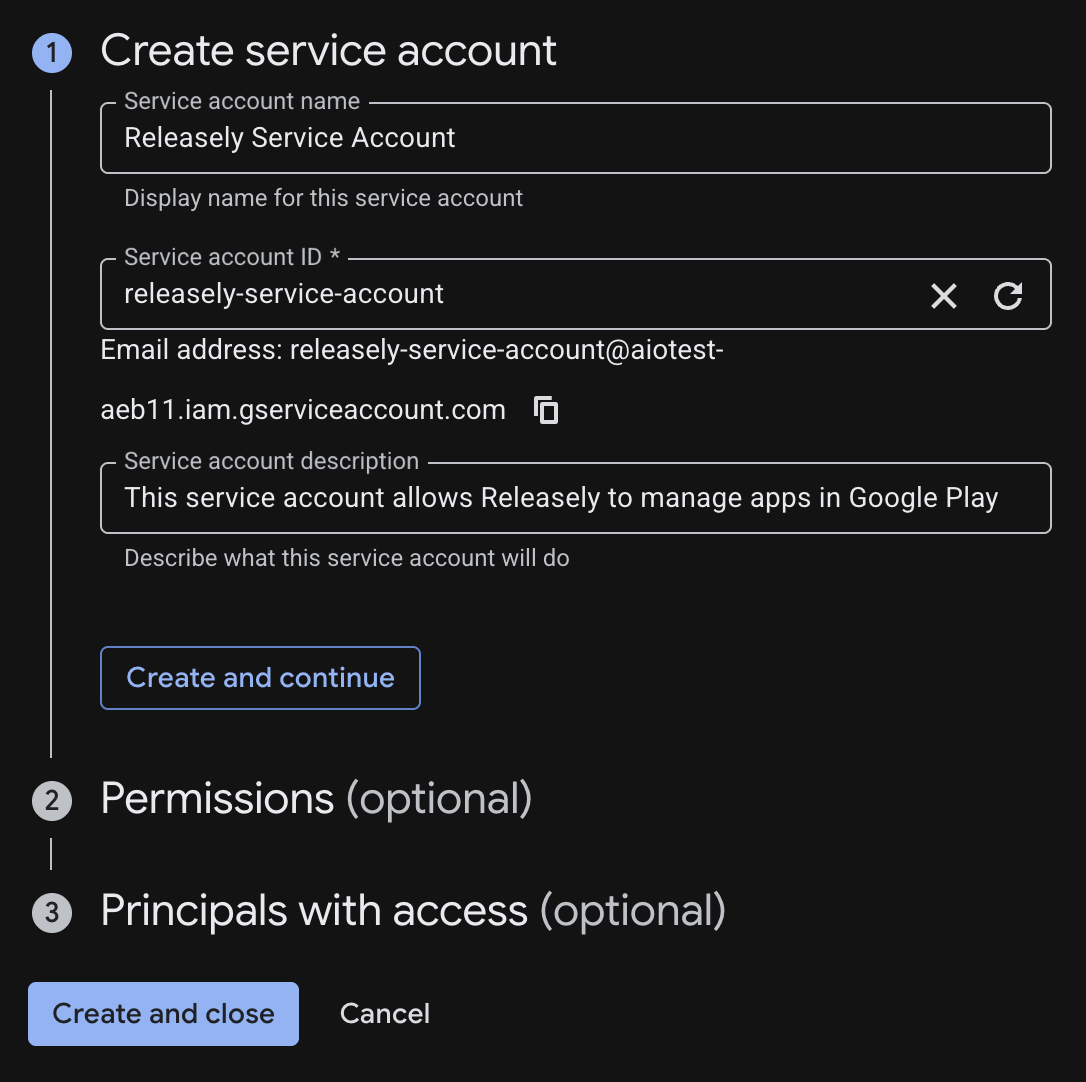
Open IAM & Admin → Service Accounts → Create service account. Give it a name. Don't assign any Google Cloud role at this step — permissions are granted on the Play Console side.
Note the service account's email
On creation, Google generates an email address for this account, shown in the Email field (it
ends in iam.gserviceaccount.com). Copy it now: it's the address you'll invite in the Play Console in
Part 2.
Create the JSON key
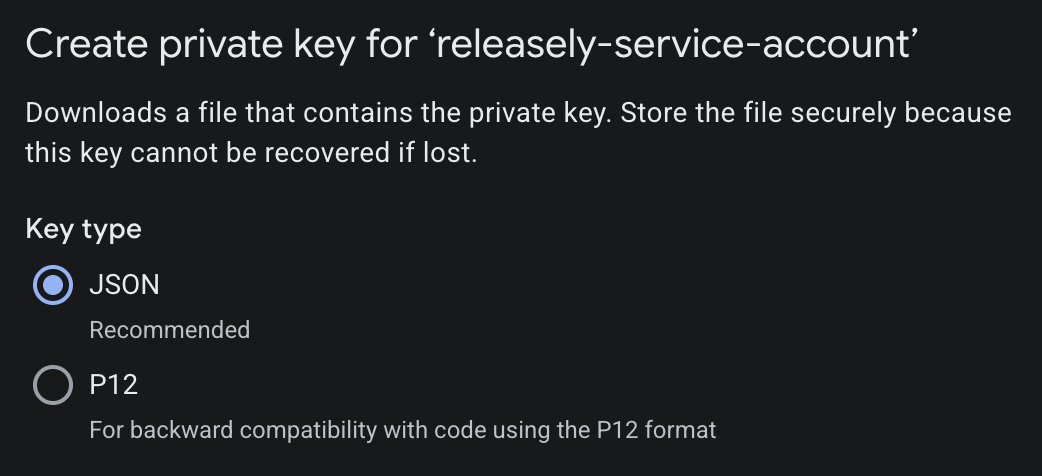
On the created service account: Actions (⋮) → Manage keys → Add key → Create new key → JSON → Create. The JSON file downloads. ⚠️ Keep it safe: it grants access to your account.
Part 2 — Google Play Console
The service account is added to your Play account like a user: you invite it by its email address (the one you noted in Part 1), then grant it the permissions needed to publish. That's what actually authorizes Releasely (via the JSON key) to act on your account.
Open "Users and permissions"
In the Play Console, open Users and permissions (left menu), then click Invite new users in the top right.
Enter the service account's email
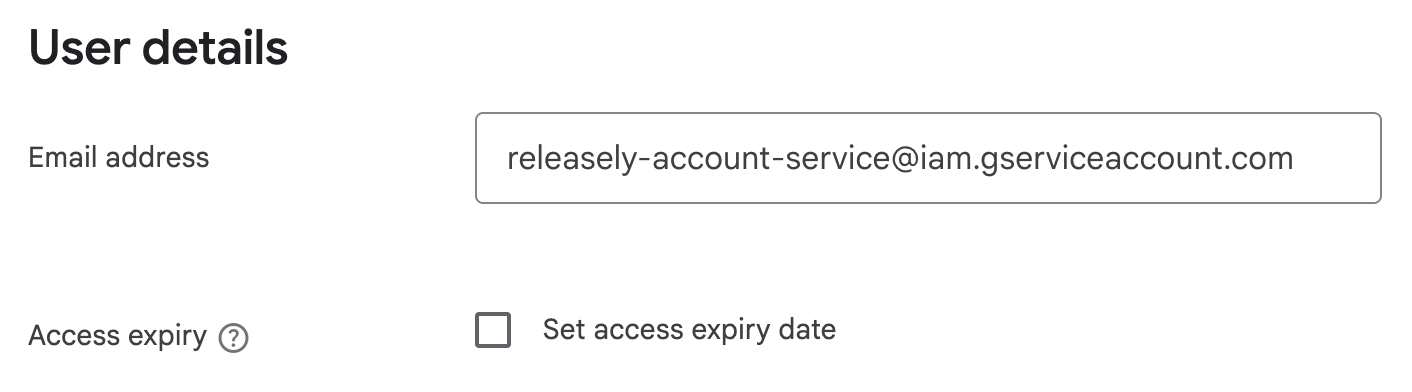
In Email address, paste the service account's address (the iam.gserviceaccount.com one). Leave
Set access expiry date unchecked — access must stay permanent.
Grant the permissions
Further down, under Permissions, give the service account what it needs to publish. Two options:
- Targeted at your app (App permissions tab) — select your app and grant it at least release and store-listing management.
- Admin (Account permissions tab → Admin (all permissions)) — full access to the account.
Send the invitation
Click Invite user. Unlike a real user, a service account has no inbox to confirm: it's added immediately and ready to use.
A delay is possible
After adding it, permissions can take a few minutes to a few hours to propagate before Releasely can publish.
Keep your values handy
A scratchpad to keep your identifiers handy while you follow this guide.
Scratchpad: Service account
Available any time via the
What's next?
API access is ready. Before moving into Releasely, a word about app signing, which is specific to Android.